
Over the past few years I’ve had a few assorted fun telephone numbers featuring everything from a Rick Astley line that plays Never Gonna Give You Up to my suite of Australian test phone numbers. Most of them have been kept private, but a few of them have been made public.
By far the most popular number has been Lenny — a voice activated ‘bot’ that is designed to keep telemarketers on the line. Lenny rambles on about his daughter Larissa, other members of his family, his home, finances, and basically anything to cause the telemarketer to repeat themselves and stay on the line as long as possible.
Reaching Lenny
Lenny can be reached at any time by dialing 02 9159 3801 (+61 2 9159 3801).
Lenny is also reachable from some community networks including TandmX (791-3801), PhreakNet (791-3801), and C*NET (61 2 791 3801).
Implementation
This instance of Lenny runs on my own FreePBX instance and was incredibly easy to setup. If you want to implement your own on FreePBX, this is what you do:
Implementation on native Asterisk is similar however you will need to configure items such as your call routes manually.
Step 1 — Install the sound files
Lenny uses a series of sound files that contains the speech, background noise, etc.
You can download these and then extract the archive to /var/lib/asterisk/sounds/Lenny. Make sure permissions on the directory and the actual sound files grant your Asterisk server read permission.
Step 2 — Setup the extension context
As I’m using FreePBX, I added the following code to /etc/asterisk/extensions_custom.conf:
[Lenny]
exten => talk,1,Set(i=${IF($["0${i}"="016"]?7:$[0${i}+1])})
same => n,Playback(Lenny/Lenny${i})
same => n,BackgroundDetect(Lenny/backgroundnoise,1500)
This code plays back the audio files starting from Lenny1.ulaw when it detects speech from the remote party.
Step 3 — Setup the custom destination
I use the Custom Destinations Module for FreePBX as it allows me to add code (such as the Lenny code above) in my extensions file and send calls directly to the context as part of my call flows, eg:
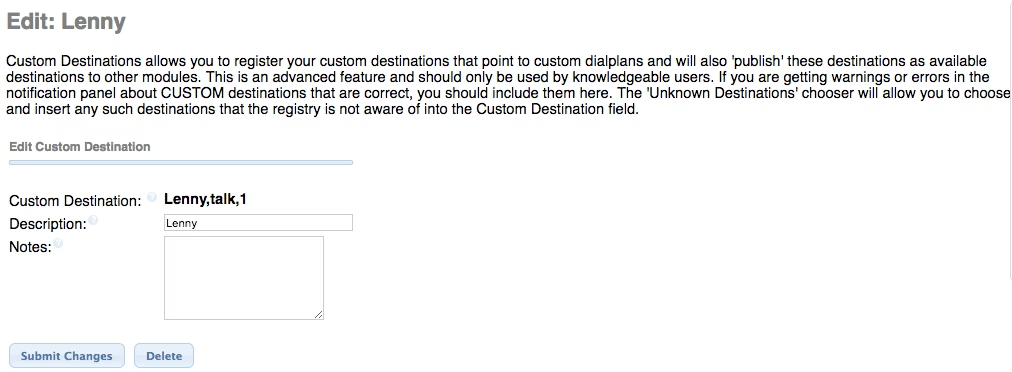
If you have used the context suggested in the code snippet above “Lenny” then your custom destination should go to Lenny,talk,1.
Step 4 — Setup the extension
This step is optional but it will allow you to create an internal extension that you can dial internally or even transfer calls to.
First you need to create a new extension using “Other (virtual exten)” as the device type:
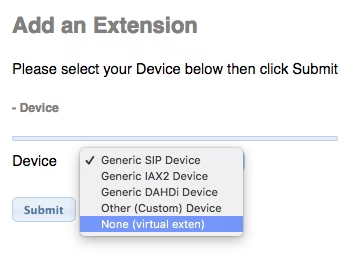
Don’t enable any extra services like User Manager or Voicemail as you don’t need them.
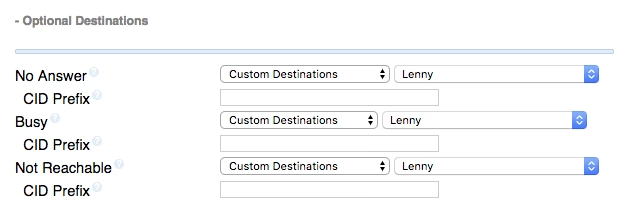
Once done you then configure the destinations to route to your custom destination:
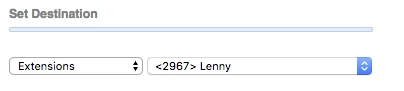
Step 5 — Setup the inbound call route
To route calls to Lenny you will need to setup an incoming call route. Your extension should be the extension you have just created:
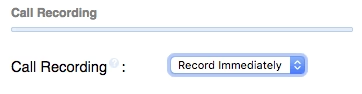
Step 6 — Recording the calls
If you want to record the calls, you can do it two ways:
- By setting your inbound call route to record calls. This has an added benefit as call recordings may be viewed from within your CDR reports,eg:
- By adding a record function to the Lenny context, eg:
 [Lenny]
 exten => talk,1,Set(i=${IF($["0${i}"="016"]?7:$[0${i}+1])})
 same => n,ExecIf($[${i}=1]?MixMonitor(${UNIQUEID}.wav))
 same => n,Playback(Lenny/Lenny${i})
 same => n,BackgroundDetect(Lenny/backgroundnoise,1500)
Legislation regarding recording calls differs between countries. Make sure you are compliant before doing this.
Step 7 — You’re done
Apply your configuration and try calling Lenny.